Introduction to Doorbell Wiring
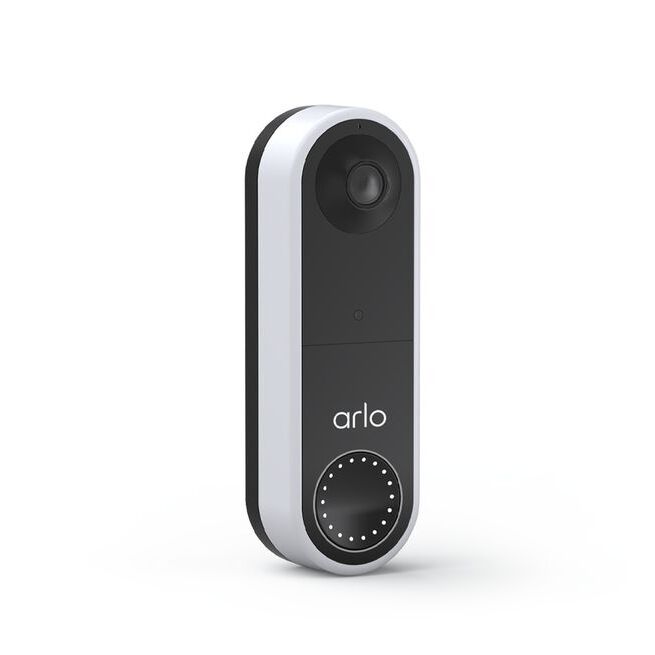
In today’s digital age, a functional and well-connected video doorbell is crucial. Doorbell wiring forms the backbone of this setup. It ensures that your video doorbell works seamlessly with your home’s system. Whether you are replacing an old doorbell or installing a new video doorbell, understanding the basics of doorbell wiring is essential. This introductory guide will equip you with the knowledge you need to begin the process confidently.
Before you dive into the wiring adventure, it is vital to recognize the compatibility and voltage requirements of your doorbell system. A mismatch can lead to inadequate power supply or, worse, damage your device. You also need to gather the necessary tools for safe installation. These include a screwdriver, wire strippers, and possibly a drill for masonry surfaces.
Safety is paramount, and deactivating power to your current doorbell system is the first step. This prevents any risk of electric shock. Next, you’ll remove and prepare the existing doorbell for the new installation. This involves detaching the old device and readying the wires for the new connection.
The installation process involves attaching the video doorbell to your home’s wiring. This step is crucial as it powers the doorbell and allows it to communicate with your in-home chime system. Finally, you’ll finalize the installation by ensuring everything is secure and testing your doorbell.
While this guide aims to simplify the doorbell wiring process, some issues may arise. We will cover troubleshooting common wiring problems. Plus, we’ll provide expert tips to ensure a successful installation. Let’s get started with transforming your doorway into a secure, smart entryway.

Compatibility and Voltage Requirements
Proper doorbell wiring ensures the compatibility and functionality of your video doorbell with your existing doorbell system. Voltage requirements vary between different doorbell models, so it is crucial to check and adhere to the correct specifications for your specific device. Most video doorbells require power between 8 to 24 VAC (volts alternating current), but it’s important to consult the manufacturer’s guidelines.
Using a transformer or adapter with the wrong voltage can damage your video doorbell or cause it to malfunction. In some cases, it could even pose a risk of electric shocks. Always use a transformer with a voltage that matches your doorbell’s requirements, typically in the range of 8VA to 40VA. If you’re unsure about the compatibility of your existing doorbell system or transformer, it is best to consult a professional.
Remember to comply with all local laws and electrical regulations when dealing with doorbell wiring. In some areas, professional installation may be mandated by law. Always prioritize safety and compliance to prevent any potential mishaps or legal issues. Make sure you use the necessary safety equipment and follow all recommended precautions during installation.
Necessary Tools and Safety Instructions
When embarking on doorbell wiring, having the right tools is key. Gather these items before you start:
- Screwdriver
- Wire strippers
- Drill (for surfaces like brick or concrete)
- Masonry drill bit (optional for certain wall types)
- Voltage tester (to ensure power is off)
Adhering to safety instructions is non-negotiable during the installation process. Here’s how to stay safe:
- Turn off the power: Always shut off electricity to the doorbell circuit at the breaker box to avoid the risk of electric shock.
- Verify the power is off: Use a voltage tester on the doorbell wires to double-check that the power is indeed off.
- Wear protective gear: Safety glasses can protect your eyes when drilling into walls.
- Handle tools with care: Ensure you have a firm grip and understanding of how to use each tool to prevent accidents.
Ensuring you follow these safety protocols not only protects you but also your home and new doorbell system. If you are uncertain about any step or uncomfortable with handling electrical components, it is prudent to consult a professional electrician. Remember, cutting corners on safety can lead to dangerous outcomes and potentially harm your new tech investment.

Deactivating Power to Current Doorbell System
Before you handle any doorbell wiring, ensure safety by cutting off the power. This is a crucial step and prevents electric shocks during installation. Make sure to locate your home’s breaker box. Here, you will find the switch controlling power to your doorbell system. Flip this switch to the off position to deactivate power. Use a voltage tester to confirm the power is off. Test the doorbell; it should not ring or show signs of electricity. If unsure which switch to turn off, you may need to shut down the main power. To avoid confusion, label the correct breaker for future reference. Always double-check the power is off before you touch any wires. This is the most important step to ensure your safety.
Removing and Preparing the Existing Doorbell
When you’re ready to install a new video doorbell, the first step is to remove the old one. Be sure to turn off the power at your breaker box to ensure safety. Next, carefully detach your existing doorbell from the wall. Handle the wires gently to avoid damage. Cap or tape the exposed ends of the wires to prevent them from touching each other, which could cause a short circuit. Labeling the wires can help you keep track of their connection points for easy reference during the new installation. Keep screws and other small parts in a safe place, as they could be useful for the new doorbell. Finally, clean the area where the old doorbell was located, so that the surface is ready for the new installation.

Installing the Video Doorbell and Wiring Connections
Connecting your video doorbell is a vital step in the setup process. Follow these steps to install your video doorbell correctly. First, locate your doorbell transformer. Ensure it provides the right voltage, between 8 to 24 VAC. If it doesn’t, you’ll need a compatible transformer. Before proceeding, remember to turn off power at the breaker.
Next, prepare for the wiring task. You might need to bypass your existing doorbell chime. For this, use the bypass cable included with your doorbell package. Connect the bypass cable according to instructions. This step ensures your video doorbell gets adequate power. After bypassing, the chime will not sound but you can use alternative alerts, like a Ring Chime.
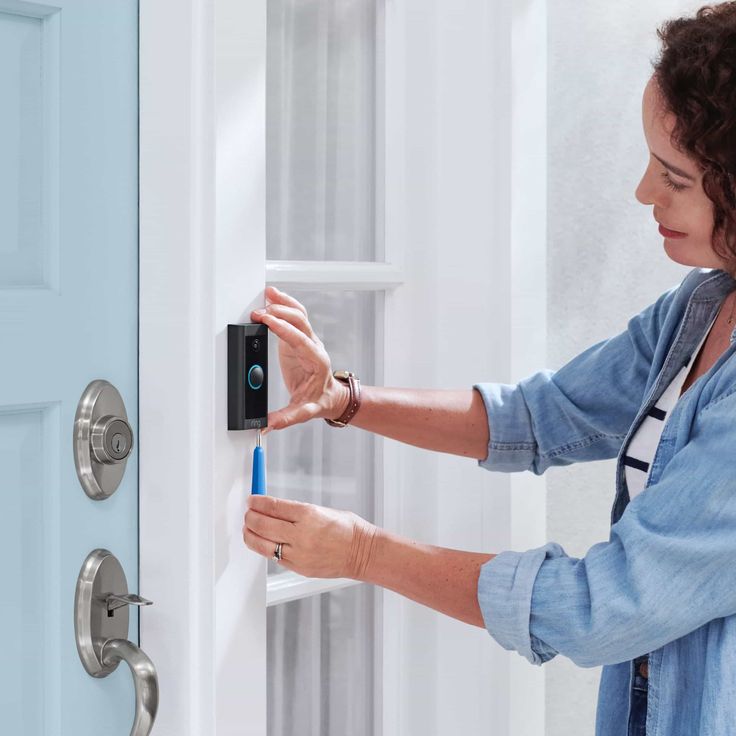
Now, fix the video doorbell to your wall. First, remove the faceplate. Then, mark and drill holes for the mounting screws. If drilling into brick or concrete, use a masonry bit and insert wall anchors. Attach your video doorbell by connecting the wires to the back terminals. Tighten them to secure. Then, mount your video doorbell with screws provided.
Finally, after mounting, restore the doorbell’s power. Check that your video doorbell lights up. This indicates it is receiving power. Finish the physical installation by securing the faceplate.
Remember to always follow the manufacturer’s guidelines. Incorrect installation may damage the video doorbell. It’s best to consult a professional if you’re unsure about these steps.
Configuring the In-Home Chime System
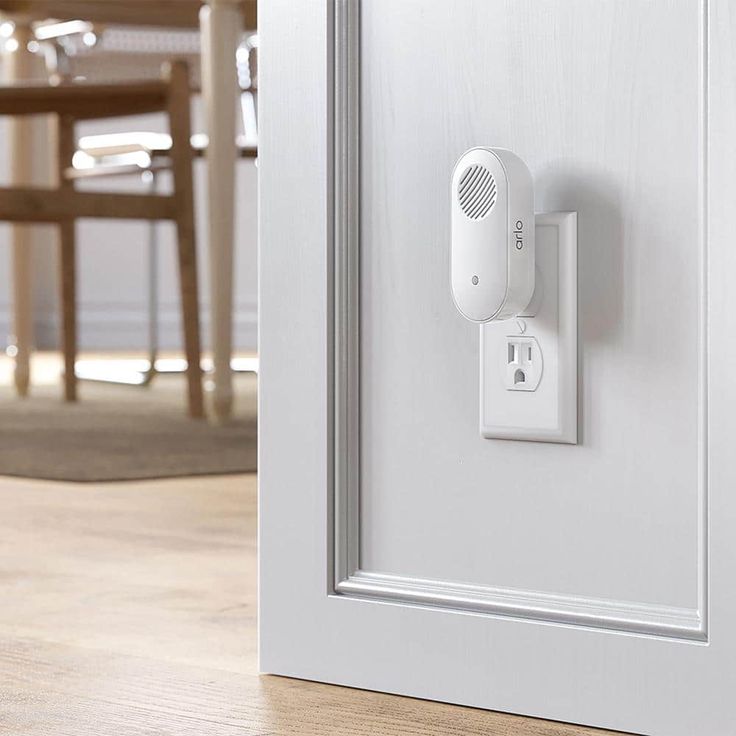
Once you hook up the video doorbell, the next step is setting up your in-home chime system. This is what sounds when someone presses your doorbell button. The process might differ based on the doorbell brand you have, but here are the general steps to configure the chime system.
- Locate the chime box in your home. It’s typically near the front door or in a central location.
- Disconnect the power before working on the chime box to avoid electric shock.
- Open the chime box carefully. Follow your video doorbell’s instruction manual for the wiring layout.
- You might need to bypass the existing chime. Use a bypass cable if that is the case. This will direct the power straight to your video doorbell.
- Secure the necessary wires as instructed by the manual. This often involves connecting specific wires to the chime’s terminals.
- Restore power to the chime system. Use the circuit breaker or fuse box.
- Check if the chime and doorbell are linked properly. Press the video doorbell button to test.
If you’ve done everything correctly, your in-home chime should sound when the doorbell button is pressed. If not, please revisit the instructions or seek professional help. Keep all safety guidelines in mind to avoid the risk of electrical shock. Remember, some video doorbells may not work with some chime systems. Check compatibility or consider alternative alert systems like a Ring Chime. Ensure you use tools that are right for the job and follow your video doorbell’s wiring guide closely.
Finalizing Installation and Testing Your Doorbell
After you secure the video doorbell, it’s time to finalize the installation and test it. Follow these steps carefully to wrap up and ensure your doorbell works.
First, check all connections are tight. Loose wires can cause poor performance or no power at all. Next, turn on the power at your breaker box. Give your video doorbell a moment to start up. You’ll know it’s ready when the indicator lights on or you hear a voice prompt.
Now, test the doorbell. Press the button and watch for a notification on your phone or tablet. If you’ve set up an in-home chime system, listen for the sound. No sound means you may need to check connections again.
If everything works fine, good job! Your video doorbell is now all set. If not, don’t worry. You might have to troubleshoot some wiring issues or check the settings in the video doorbell’s app.
Keep the manual and all tools handy for future reference or adjustments. Remember, safety first. Don’t touch wires without turning off power. And if you’re ever in doubt, contact a professional for help.
With these steps, you’ve finished the doorbell wiring task. Your home is now more secure with a working video doorbell at the front door.
Troubleshooting Common Wiring Issues
When installing your video doorbell, you might encounter some wiring problems. Here’s how to troubleshoot common issues effectively.
No Power to the Video Doorbell
If your doorbell isn’t working, check the power. Ensure your home’s electrical system is functioning. Confirm the breaker to the doorbell isn’t tripped. Double-check the wires are connected properly to your doorbell and the transformer. Use a voltage tester to check for power at the doorbell location. If there’s no voltage, inspect the transformer. It may need replacement.
Doorbell Ringing Too Quiet or Not at All
When the doorbell is too quiet or silent, the issue could be a faulty chime system. Verify compatibility between your doorbell and the in-home chime. If needed, use a bypass cable included with most doorbell kits. This step might fix the issue. Otherwise, consider a chime system replacement or alternative like Ring Chime.
Intermittent Functioning of Doorbell
A doorbell that works unpredictably suggests loose connections or defects in wiring. Check all wire terminations for a secure fit. If everything is tight, inspect the wires for breaks or damage. Replacing damaged wires might solve the problem.
Incorrect Wiring Layout
If your doorbell wiring is incorrect, refer to the doorbell’s instruction manual. Follow the wiring diagram closely. Take a picture of your current wiring setup before making changes, so you have a reference. If confusion persists, consult a professional electrician.
By addressing these common wiring issues, you can ensure your video doorbell functions correctly. Make sure to turn off power at the breaker box before making any adjustments. Safety glasses are recommended when dealing with electrical components. If troubleshooting proves difficult, get help from a licensed professional.

