Safety First: Pre-Installation Precautions
How to wire a ring doorbell? Before you start wiring your Ring Doorbell, safety must be your top priority. Here’s a checklist to ensure you take the necessary precautions:
- Read the Instructions: Go through the user manual or installation guide thoroughly before beginning.
- Check for All Hardware: Verify that you have all necessary components on hand, as per the instructions manual.
- Understand the Risks: Be aware of electrical hazards and understand the risks involved with handling wiring.
- Turn Off Power: Make sure to switch off the power at the circuit breaker or fuse box. Double-check this step to avoid electrical shocks.
- Consult a Professional: If you’re unsure about any step of the process, do not hesitate to consult a qualified electrician.
- Use Proper Tools: Gather all the required tools, such as a screwdriver and drill, as specified in the installation guide.
- Safety Gear: Wear safety glasses and gloves if necessary, to protect against dust and electrical components.
- Avoid Water: Ensure your hands and the installation area are dry to prevent any possibility of electric shock.
By following these safety steps, you’ll create a secure environment for yourself and your household during the installation of your Ring Doorbell.
Identify Your Current Doorbell System
To start, pinpoint your existing doorbell system. Press the doorbell and listen for the chime. This confirms that your system works. Track the chime to locate the doorbell unit and remember this spot.
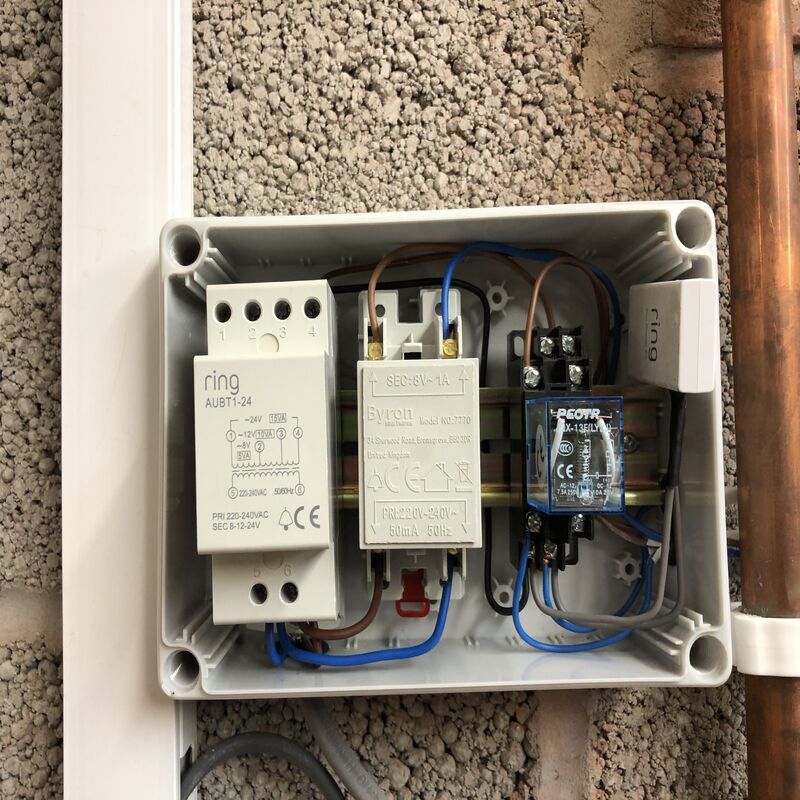
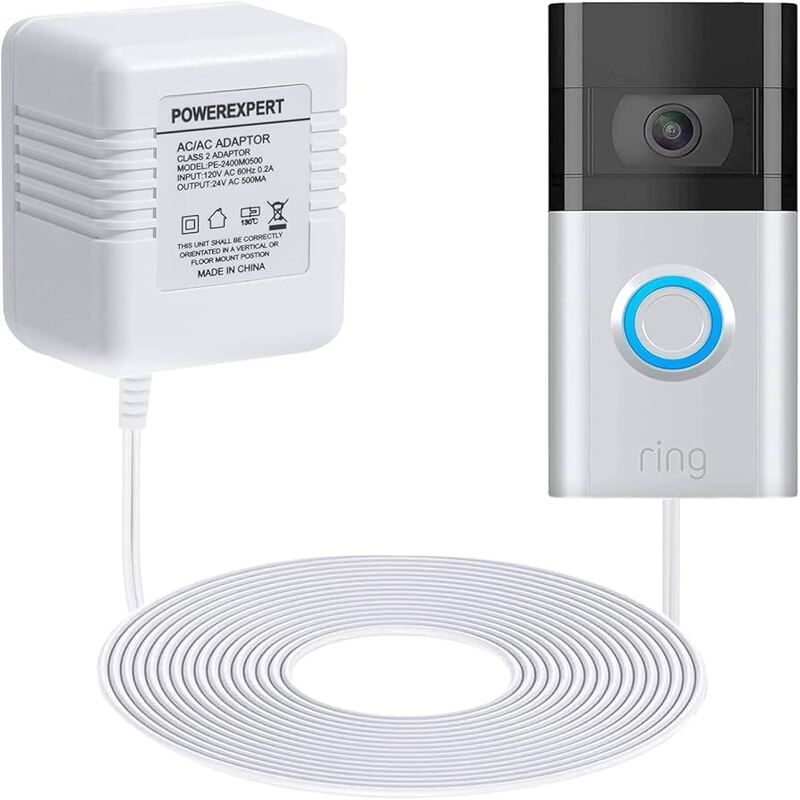
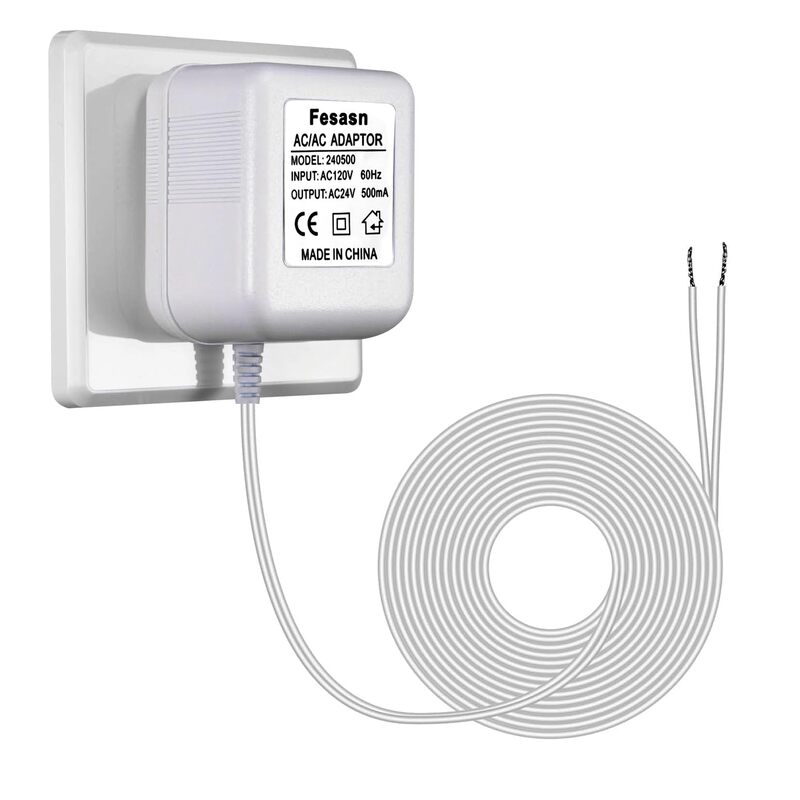
Check the doorbell system’s voltage and type next. Your Ring Doorbell requires an 8-24 VAC transformer. If the voltage doesn’t match, consult an electrician.
Some doorbell systems may not be compatible with your Ring Doorbell. Older or highly specialized systems might need a transformer upgrade. Check this before proceeding.
If your current doorbell chime works digitally, you’ll need to use the included diode. A digital chime plays a melody, rather than a simple ring. However, do not use the diode with mechanical doorbell systems.
Take a picture or note of the existing doorbell wiring. This could help if you need to reference the original setup later.
Identification of your doorbell system is crucial for the next steps. Make sure your system’s power requirement aligns with your Ring Doorbell for a successful installation.
Power Off: Turning Off Electricity at the Breaker
Before wiring your Ring Doorbell, cutting off power is crucial for safety. Follow these steps:
- Locate Your Circuit Breaker: Find the circuit breaker or fuse box in your home.
- Identify the Right Breaker: Look for a breaker labeled ‘Doorbell’ or similar. If in doubt, turn off the main power.
- Switch Off: Flip the breaker to the off position to cut power to the doorbell.
- Double-Check: Press your doorbell button to ensure there is no power. If it doesn’t ring, you’re safe to proceed.
- Safety Verification: Use a non-contact voltage tester around the doorbell wiring to confirm the power is off.
Taking these measures before wiring your Ring Doorbell avoids electric shock and ensures a safe installation environment. Next, we prepare the jumper cable.
Preparing the Jumper Cable
Once you have confirmed that your existing doorbell system is compatible and the power is off, the next step is to prepare the Jumper Cable included in your Ring Doorbell kit. This cable is essential for the installation process and ensures that your new Ring Doorbell gets the power it needs.
Follow these simple steps to prepare the Jumper Cable:
- Locate the Chime Unit: Find the doorbell chime within your home where the Jumper Cable will connect.
- Open the Chime Cover: Carefully remove the cover from your doorbell chime. Set the cover aside.
- Loosen Terminal Screws: Inside the chime, you will see ‘Front’ and ‘Trans’ terminal screws. Loosen these screws slightly. Keep the wires connected.
- Attach the Jumper Cable: Connect one end of the Jumper Cable to the ‘Front’ terminal and the other end to the ‘Trans’ terminal. The order of wires does not matter.
- Ensure a Secure Connection: Tighten the terminal screws to secure the Jumper Cable ends in place.
The Jumper Cable bypass disables the existing chime, which is necessary for the new Ring Doorbell to function correctly. Handling cables and wiring may pose a risk; if you are not comfortable with this step, consider hiring a professional electrician.
Attention: It’s crucial to confirm that the electricity remains off throughout this process. Preparing the Jumper Cable correctly is key to a smooth installation of your Ring Doorbell.
Removing the Existing Doorbell Button
To replace your doorbell with a Ring model, you’ll need to remove the existing one. Turn off the power at the breaker to ensure safety during the removal process. Then, unscrew the doorbell from the wall and gently disconnect the wires behind it.
Here are the steps:
- Find Your Doorbell: Locate your current doorbell button outside your home.
- Unscrew the Doorbell: Use a screwdriver to remove the screws holding the doorbell in place.
- Gently Remove: Once unscrewed, carefully pull the doorbell button away from the wall.
- Disconnect the Wires: Detach the wires from the back of the doorbell button. Take care not to let the wires slip into the wall cavity.
- Seal Off Wires Temporarily: Wrap the end of each wire with electrical tape to prevent them from touching each other or the wall.
Be mindful not to lose the screws or damage the wires, as you will need them to install your Ring Doorbell.
Installing Wiring for Your Ring Doorbell
After removing the old doorbell button, it’s time to wire your Ring Doorbell. Follow these careful steps:
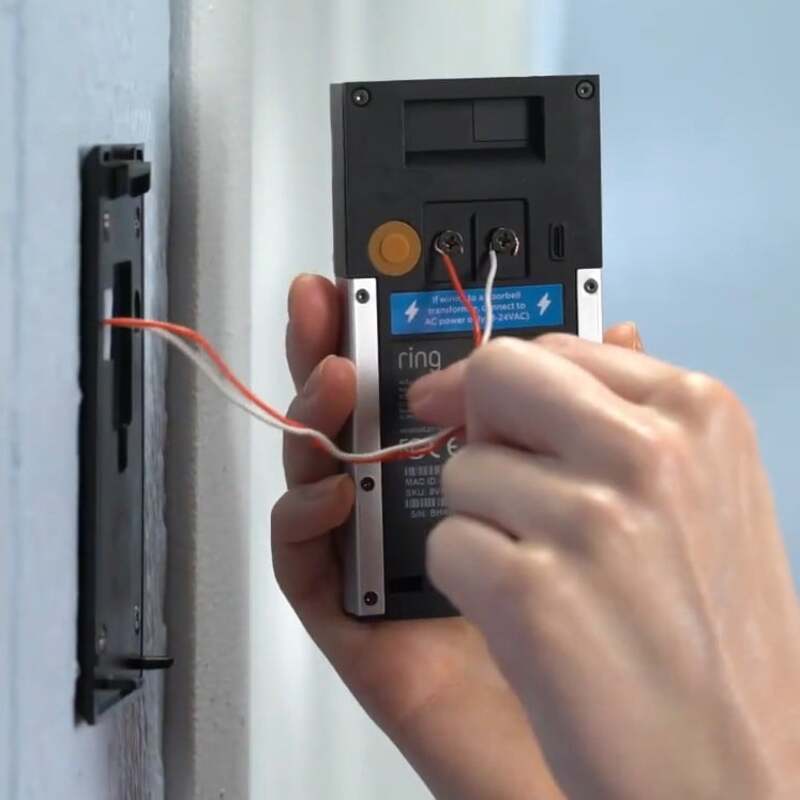
- Access the Wires: Make sure the wires you disconnected are within reach and have no damage.
- Prepare for Connection: Strip the ends of the wires if necessary to ensure they can make a good connection. Use wire strippers for a clean cut.
- Connect the Wires: Take the two wires and attach them to the screws at the back of your Ring Doorbell. There’s no set order; any wire can go on either screw.
- Ensure a Firm Connection: Check that the wires are firmly attached to the screws. A loose wire can cause power issues with your doorbell.
- Position the Doorbell: Hold the Ring Doorbell up to the wall where you plan to mount it. Be sure the wires don’t get pinched.
Correct wiring secures the power supply to your Ring Doorbell. If you face any issues, it’s best to seek help from a professional electrician.
Mounting and Securing the Ring Doorbell
Once you have wired your Ring Doorbell, it’s time to mount it securely to the wall.
- Locate Mounting Position: Choose a location around 48 inches above the ground level. This height is optimal for capturing a good view of visitors.
- Mark the Drill Holes: Hold the Ring Doorbell against the wall where you intend to mount it. Use a pencil to mark where the holes need to be drilled. Make sure the device is level.
- Drill the Holes: If you’re mounting on a hard surface like brick or concrete, use the right size masonry bit to drill. For softer surfaces like wood, drilling may not be required.
- Insert Wall Anchors: Place the included wall anchors into the drilled holes if you’re installing on masonry. These anchors will help secure the screws.
- Secure the Mounting Plate: Align the mounting plate with the drill holes. Using the provided screws, attach the mounting plate firmly to the wall.
- Attach the Doorbell: Hook your Ring Doorbell onto the mounted plate. Ensure it fits snugly and secured.
- Tighten the Security Screws: Use the security screws from Bag B to secure your Ring Doorbell to the mounting plate, preventing theft or tampering.
- Check for Flush Fit: Make sure the Ring Doorbell is attached flat against the wall with no gaps. It should look neat and be firmly in place.
By following these steps, your Ring Doorbell will be properly mounted and ready for the final setup in the app and testing.
Final Setup in the Ring App
With the physical installation complete, it’s time for the final step. Launch the Ring App on your smartphone or tablet. Select the device you want to set up and follow the step-by-step guide provided in the app. This will walk you through connecting your Ring Doorbell to your home Wi-Fi network. Ensure that you stay close to your Wi-Fi router during setup for a strong connection. If needed, you might require a Wi-Fi extender to enhance the signal strength near your doorbell. Remember to authorize any necessary updates to ensure your device runs smoothly. After setting up your Ring Doorbell in the app, check that you have notifications enabled on your device to receive alerts. With app setup complete, your Ring Doorbell is now ready to use.
Restoring Power and Testing the Installation
Once you’ve securely mounted your Ring Doorbell, the next step is to restore power and test it.
- Go to Your Circuit Breaker: Return to the circuit breaker or fuse box in your home.
- Turn On Power: Flip the breaker back to the ‘on’ position to supply power to the doorbell circuit.
- Check for Lights: Observe the Ring Doorbell for any lights or sounds that indicate it is receiving power.
- Press the Doorbell: Use the Ring Doorbell button to test if it functions correctly. Look for a video feed in the Ring app to confirm.
- Test Notifications: Ensure your smartphone or tablet receives notifications when the Ring Doorbell button is pressed.
- Check Video Quality: Review the video and audio quality on your device to make sure they are clear.
If you encounter any issues during testing, recheck your wiring connections and ensure they are secure. If problems persist, consult the Ring support or a professional electrician. After successful testing, your Ring Doorbell is all set to monitor your home’s entrance and provide security.