Door lock actuators are essential components in modern vehicles. They respond to the locking and unlocking commands from your key fob or door switch. When they malfunction, it can lead to problematic situations. For instance, you may be locked out of your car or unable to secure it properly. In this article, we will explore the steps involved in replacing a door lock actuator, the tools required, and some helpful tips to ensure a successful installation.
Understanding Door Lock Actuators
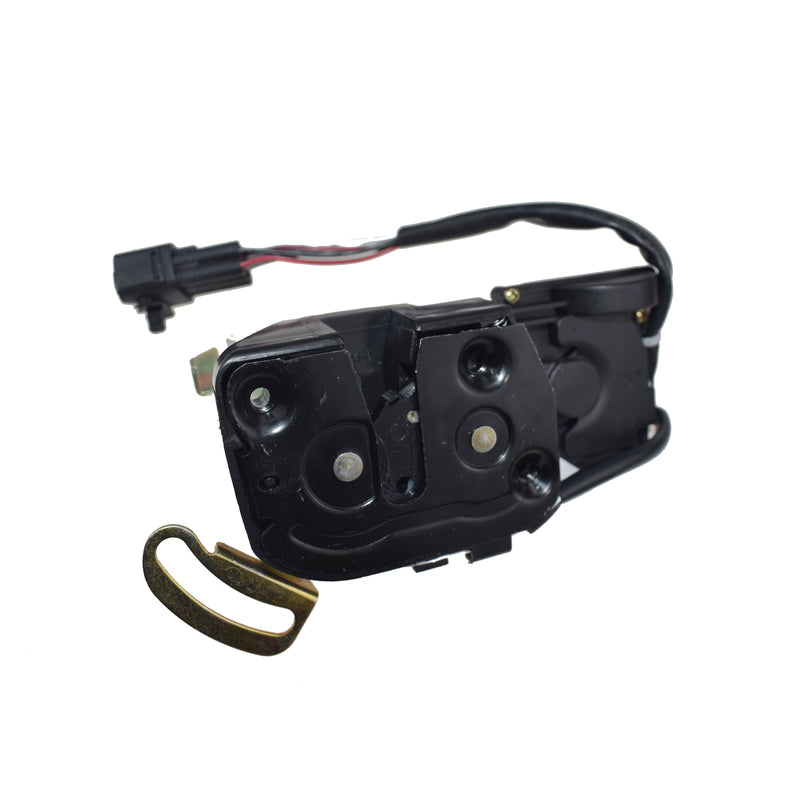
Door lock actuators are electrical devices responsible for locking and unlocking car doors. They typically receive signals from remote keyless entry systems or the door switch. When functioning correctly, these systems enhance convenience and security. However, there are various reasons why they may fail. For example, wear and tear, electrical issues, or physical damage can all lead to actuator failure.
Common Symptoms of a Failing Actuator
Recognizing the symptoms of a failing actuator is crucial. One common sign is when the door does not lock or unlock as it should. You may notice that the door responds only intermittently. Another symptom includes unusual noise when attempting to operate the lock. This noise can indicate that the actuator is struggling or has become faulty. Additionally, if you hear a grinding noise, it can signify internal damage.
Why Timely Replacement Matters
Timely replacement of a faulty actuator can save you further complications. Ignoring the issue may result in being unable to access your vehicle entirely. Furthermore, failing to address this problem can compromise your car’s security. A malfunctioning actuator may cause the door to remain unlocked, exposing you to theft. Additionally, prolonged use of a faulty actuator can lead to more extensive damage, increasing repair costs.
Tools You’ll Need for Replacement
Before starting the replacement process, gather the necessary tools. Having everything ready will streamline the procedure and enhance your efficiency. First, a set of screwdrivers, both flathead and Phillips, is essential. These will help you remove any screws securing the door panel and actuator.
Additional Tools for Success
In addition to screwdrivers, you may need a socket wrench set. This tool is necessary for removing any required bolts or nuts. Moreover, pliers can prove helpful for disconnecting electrical connectors. Ensure that you have a trim removal tool as well. This special tool prevents damage to the plastic clips holding the door panel.
Important Safety Equipment
Safety should always be a priority during any repair job. Therefore, wearing safety goggles is advisable to protect your eyes from flying debris. Additionally, using gloves can guard your hands against sharp edges or accidental cuts. Finally, working in a well-lit area is essential. Good lighting will help you see small components clearly, making the replacement much easier.
Preparing for the Replacement
Preparation is a critical aspect of any repair task. Before proceeding, take a moment to assess the situation fully. Ensure the vehicle is parked in a safe location, preferably on a flat surface. Remove the key from the ignition to avoid accidental activation of any electrical systems. It is also wise to disconnect the car battery for safety during the removal process.
Step-by-Step Disassembly Process
Start by carefully disassembling the door panel. This often involves removing screws and clips holding it in place. Take your time, as forcing components can cause permanent damage. Once the screws are removed, gently pry off the door panel using a trim removal tool. Make sure to label screws and clips to facilitate reassembly later.
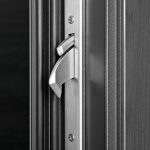
Locating the Door Lock Actuator
Once the panel is removed, your next step is locating the door lock actuator. It is typically positioned near the locking mechanism inside the door. Keep an eye out for electrical connectors attached to the actuator. Disconnect these connectors gently to avoid damaging them. After this, unscrew any bolts securing the actuator to the door frame and carefully remove it.
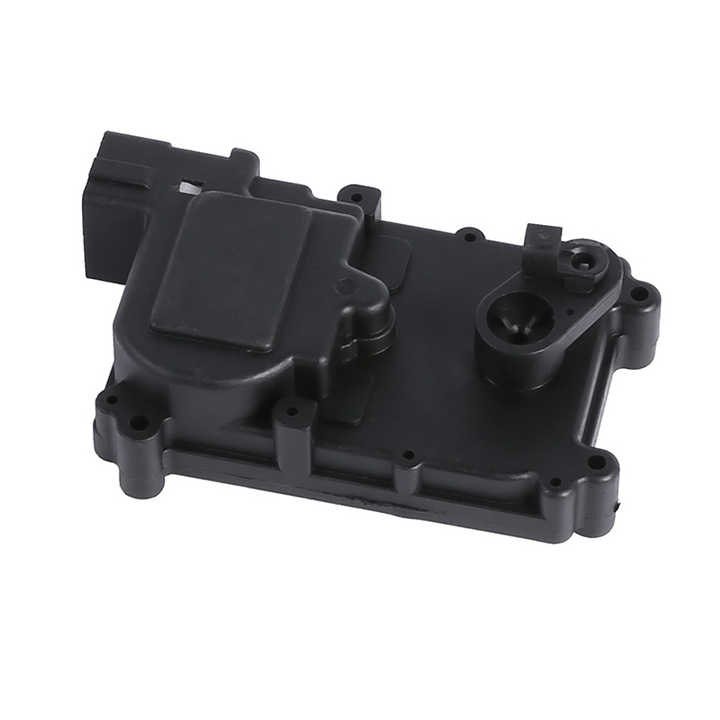
Installing the New Actuator
Having gathered all the necessary tools, and completed the disassembly, it is time to focus on installation. Begin by obtaining the correct replacement actuator for your vehicle. Check that it matches the specifications of the old one. This ensures compatibility and functionality in your vehicle.
Following Installation Guidelines
As you proceed, take care to follow any installation instructions included with the new actuator. Each vehicle may have specific requirements. Mount the new actuator in the same position as the old one, aligning it with screw holes. Secure it with the bolts you previously removed, ensuring it fits snugly.
Reconnecting Electrical Components
Once the actuator is secure, it’s time to reconnect the electrical connectors. Make sure these connections are tight and secure. A loose connection can cause the actuator to function poorly. Check that everything is in order before moving on to reassembling the door panel.

Reassembling the Door Panel
Having successfully installed the new actuator, you’re ready to reassemble the door panel. Start by carefully positioning the door panel back onto the door frame. Align the clips and screw holes accurately. Begin securing the panel using the screws you secured earlier.
Ensuring a Secure Fit
Take the time to press on the panel gently, ensuring it clicks back into place at all the clips. Check that all areas are aligned correctly, preventing any rattling or loose components. Additionally, double-check that the window and lock mechanisms function as intended before sealing everything.
Testing the New Actuator
Before fully reassembling the door, it’s crucial to test the new actuator. Reconnect the car battery and test the locking and unlocking function. Ideally, the actuator should respond promptly to your commands. If it does not function correctly, double-check the connections and positions of screws and bolts. It’s better to troubleshoot now than to reopen the door later.
Troubleshooting Common Issues
Sometimes, even after following all the steps, issues may arise. If the new actuator fails to respond, consider examining the electrical system. Ensure that the connectors are indeed snug and correctly positioned. Additionally, check if your key fob or door switch is malfunctioning.
Identifying Electrical Problems
A multimeter can help measure voltage and continuity. By checking the wiring, you can identify whether the issue is rooted in the electrical system. Look for frayed wires, corrosion, or loose connections. Fixing these issues can sometimes solve locked door problems that seem actuator-related.
Seeking Professional Help
If you’ve tried troubleshooting and still face issues, consider seeking professional assistance. Mechanics have the experience and tools required to diagnose and solve complex issues. They can conduct electrical tests that might be beyond the scope of a DIY approach.
Conclusion
Replacing a door lock actuator is a manageable task, especially with the right preparation. It requires a basic understanding of vehicle components, the correct tools, and patience. By following the steps outlined, you can ensure a successful replacement process and restore your vehicle’s locking system.
To summarize, begin by gathering all the tools you need and preparing your workspace. Carefully disassemble the door panel, replace the actuator, and reassemble everything. Be sure to troubleshoot common issues you might encounter. Taking action promptly can save further complications and costs.
With a new door lock actuator, you can enjoy the security and convenience a properly functioning locking system offers. Taking the time to understand the components and steps involved pays off in the long run. Whether it’s for personal satisfaction or vehicle maintenance, engaging in DIY repairs offers rewarding educational experiences.