Overview of Wiring a Video Doorbell
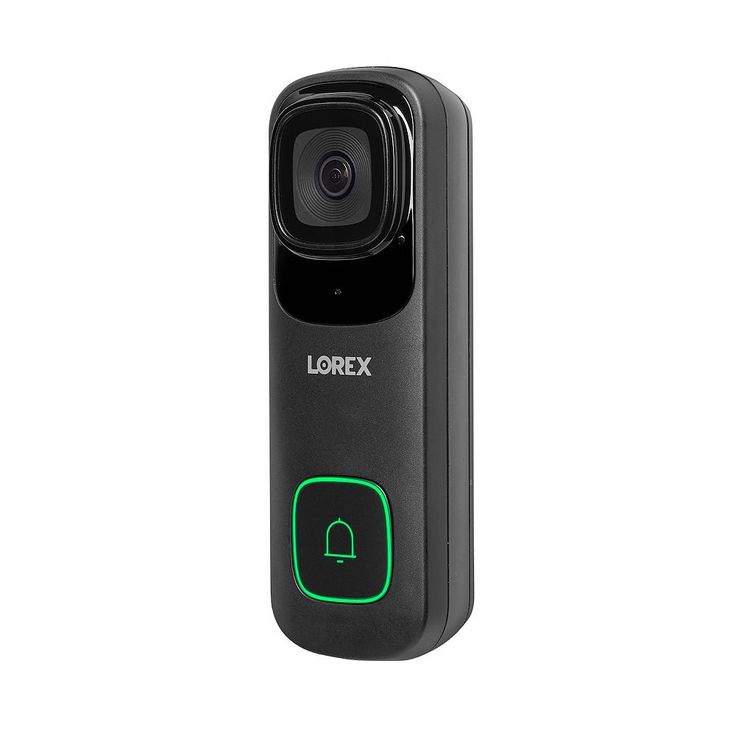
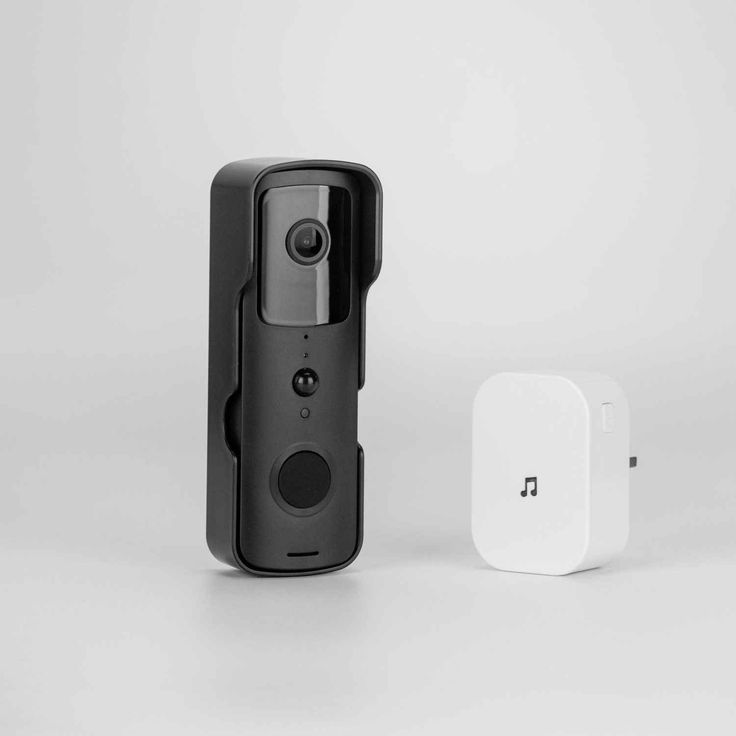
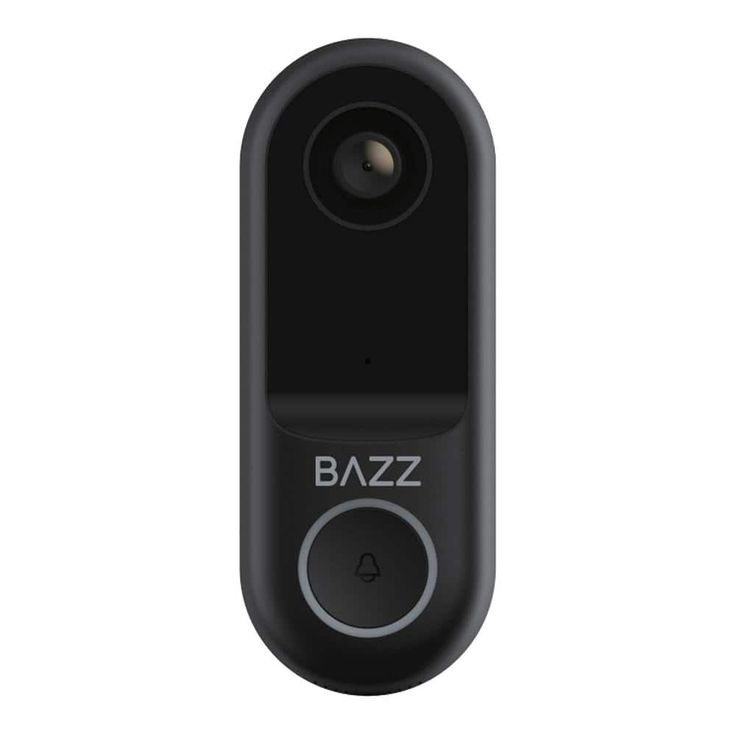
Modern homes often feature video doorbells that add security and convenience. Learning how to wire a doorbell is useful. A wired doorbell ensures a constant connection. It also eliminates the need to change batteries frequently. We are here to guide you through the wiring process, step-by-step.
Before diving into the installation, it’s important to get familiar with the components. You need to know where your current doorbell and chime box are located. Tools and materials, like screwdrivers and wires, are essential. Check if your doorbell system is compatible. Ensure you have all necessary items ready.
First, let’s look at how the video doorbell connects. It attaches to the existing chime wiring, utilizing it to receive power. For a successful installation, follow the instructions carefully. Some video doorbells come with their own app. These apps often provide extra guidance for wiring and installation.
Remember, a fixed power connection means your video doorbell is always ready. You won’t miss any visitors or deliveries. With the right tools and a clear guide, wiring your new video doorbell will be straightforward. Let’s move on to the safety steps and the actual process. This is where you make sure everything works perfectly for years to come.

Safety Precautions Before You Begin
When wiring a doorbell, safety must be your top priority. Before you begin the wiring process, here are crucial safety steps to follow:
Turn off the electricity. Go to your circuit breaker or fuse box. Turn off the power to your doorbell’s circuit. This prevents the risk of electrical shock.
Test the power. Use a non-contact voltage tester. Check the doorbell wires to make sure the power is truly off.
Inspect your tools. Ensure that all your tools are in good condition. Look for any damage that could pose a safety hazard.
Wear protective gear. Put on safety glasses to shield your eyes. Gloves can protect your hands from injury.
Care for your ladder. If you need a ladder to reach your doorbell, make sure it is stable. Place it on an even surface.
Follow the instructions. Read the manufacturer’s guide carefully. Understand each step before you take action.
These precautions will help to prevent accidents and ensure a safe installation process. Remember, if you are not comfortable with handling electrical wiring, contact a professional electrician. They are trained to handle wiring safely and efficiently. Next, you’ll need the right tools and materials for the job, which we will cover in the following section.
Necessary Tools and Materials
When wiring your video doorbell, having the right tools and materials is crucial for a smooth installation. Here’s what you’ll need to get started:
- Screwdriver: A PH2 Phillips screwdriver is essential for removing and attaching screws.
- Voltage Tester: A non-contact voltage tester will confirm that power is off during installation.
- Drill and Drill Bits: A power drill and, if necessary, a masonry drill bit for surfaces such as brick or concrete.
- Wire Strippers: In case you need to strip insulation off the wires.
- Safety Gear: Safety glasses and gloves to protect your eyes and hands.
- Anchors and Screws: Provided in the doorbell kit, required for securing the doorbell in place.
- Jumper Cable: Depending on your model, a jumper cable may be needed to bypass your existing chime.
- Level: To ensure that the doorbell is mounted straight.
- Mounting Template: Often included in the doorbell package, it helps to position and level the doorbell accurately.
Make sure to double-check that you have all of these items before you begin. Proper preparation will minimize the risk of delays and frustrations. Stick to the manufacturer’s instructions for a safe and proper installation. If there is any confusion about materials or tools, do not hesitate to refer to the manual or consult with a professional. Your doorbell’s brand-specific app may also offer additional guidance and support. In the next section, we will examine how to check the compatibility of your doorbell with the existing voltage system.
Checking Doorbell Voltage Compatibility
Before proceeding with the doorbell installation, it’s critical to check voltage compatibility. The right voltage ensures your video doorbell works correctly and safely. Begin by locating your current doorbell transformer. This often resides in your basement, attic, or garage. Your doorbell system should match the voltage requirements of the video doorbell.
Video doorbells usually require a power supply ranging from 16-24 VAC (volts alternating current) at 50-60Hz. The transformer also should not exceed 40VA in power. If your transformer falls below 16 VAC, your doorbell may not function properly and could enter a default ‘Event Response’ mode.
Here’s how to check the voltage:
- Identify the transformer: Locate and inspect your current doorbell transformer.
- Confirm voltage: Use a multimeter to measure the output voltage. Ensure it fits within the 16-24 VAC range.
- Match with chime. Ensure the transformer voltage corresponds with your chime system’s requirements. A mismatch could result in malfunctions.
- Double-check: If you’re uncertain about the voltage, consult the video doorbell’s manual or visit a support website for guidance.
- Obtain an upgrade: If your existing transformer doesn’t meet the required voltage, consider replacing it with a compatible one.
Use caution and refer to manufacturer guidelines. If you’re not confident in handling electrical components, it’s best to hire a professional. Next, we will move to the power shutdown and the removal of the old doorbell button.
Power Shutdown and Removal of Old Doorbell Button
Turn off the power. Go to your circuit breaker or fuse box. Find the one for your doorbell’s circuit. Switch it to the ‘off’ position. This is to make sure you don’t get shocked.
Remove the old button. Look for your current doorbell on the wall. Use a screwdriver from your toolkit. Loosen the screws that hold the button in place. Gently pull it to reveal the wires behind it.
Disconnect the wires. These wires were connected to your old doorbell. Carefully detach them. Ensure they don’t slip back through the wall. You may tape them to the wall to keep them handy.
Take off the mounting bracket. This piece held your old doorbell on the wall. Unscrew it and gently take it off. Set it aside safely.
Inspect for damage. Before moving on, check the wires for damage. Look for worn-out insulation or broken wires. These could cause issues later on.
By following these steps toward how to wire a doorbell, you have safely shut down the power and removed the old button. Now, you are ready to install the new one.
Connecting Wires to the Back Plate
After you’ve safely removed your old doorbell button, you’re ready to connect the wires to the new video doorbell’s back plate. This step is critical for the doorbell’s power supply. Here’s how to wire a doorbell by attaching the wires properly:
- Identify the wires: You should see two wires that were connected to your old doorbell. These will now be used for your new video doorbell.
- Strip the wires: If the ends are not already bare, use wire strippers to remove about 1/2 inch of insulation from each wire.
- Attach the wires: Take the back plate and locate the two screw terminals. Loosely screw them open.
- Secure the connections: Wrap one wire around each terminal screw. It doesn’t matter which wire goes on which screw. Tighten the screws to hold the wires in place.
- Ensure a strong connection: Pull the wires gently to check they are snug. A loose wire could cause your doorbell to malfunction.
- Position the back plate: Place the back plate against the wall, making sure it’s level. Mark the screw holes for drilling if required.
By following these steps, you’ve made sure the wiring on the back plate is ready for the next phase. The proper connection of the wires is crucial for the doorbell to function as designed. Once the back plate is wired and positioned, you’ll move on to securing the doorbell itself.
Securing the Doorbell to the Back Plate
With the wires firmly connected to the back plate, it’s now time to secure the doorbell. These steps will ensure your video doorbell is mounted safely and correctly:
- Verify alignment: Before attaching, make sure the back plate is straight. Use a level to confirm.
- Mount the doorbell: Align the doorbell with the back plate. Carefully slide it into place.
- Check for a snug fit: Press the doorbell firmly onto the back plate. You should hear a soft click indicating it’s secure.
- Use correct screws: Insert the screws provided into the designated holes. Tighten them to hold the doorbell in place without over-tightening.
- Confirm stability: Gently tug on the doorbell to ensure it doesn’t move. It must stay stable as you let go.
- Snap on the faceplate: If your model has a separate faceplate, snap it on now. It should fit effortlessly.
By completing these steps, you’ve successfully secured the video doorbell to its back plate. The connection is strong and ready for the final installation phase. Protect the integrity of your doorbell by using the materials provided in the kit. Avoid substituting with other screws or adhesives that could damage the unit.
In the next section, we’ll guide you through the final steps including power restoration to your new doorbell. Stay tuned to complete your doorbell wiring with confidence.
Final Steps and Power Restoration
After attaching and securing your video doorbell, only a few final steps remain. These are crucial to ensure your doorbell is operational and your installation complete. Follow these last steps with great care.
Restoring Power to Your Doorbell System
Turn the power back on. Head back to your circuit breaker or fuse box. Switch the power supply to your doorbell circuit to the ‘on’ position. Be cautious: double-check that all tools have been removed from the work area before flipping the switch.
Test your doorbell. Give your doorbell a trial run. Press the button to see if the device powers up and functions correctly. If it doesn’t work, turn off the power and check your connections.
Wait for initialization. Some video doorbells take a moment to start. They might light up or make a sound. This signals they are ready for use.
Ensuring Proper Functionality
Monitor the doorbell’s response. When pressed, your video doorbell should trigger an alert. Check the video feed to ensure it is clear and stable.
Test the chime. If you have connected the doorbell to your home’s chime system, press the button. Listen for the chime, indicating full functionality.
Final Inspection and Maintenance Tips
Inspect all elements. Look over the doorbell, screws, and wiring one last time. Everything should be secure and neat. Address any loose parts or exposed wiring for safety.
Keep maintenance in mind. Clean the camera lens periodically. Check the device for debris or spider webs. This ensures your video doorbell continues to work well.
By following these final steps and taking care of power restoration, you’ve effectively learned how to wire a doorbell. Your new video doorbell is now ready to enhance your home’s security and convenience. Remember, a wired doorbell offers reliable performance with less worry about battery changes. With this guide, installing your video doorbell should have been a straightforward task. Always prioritize safety and follow manufacturer instructions closely for the best results.


