Safety Precautions Before Installation
How to install video doorbell? Before installing your video doorbell, prioritize safety by taking these steps:
- Turn Off Power: Ensure all power to the installation area is off. This prevents electrical hazards. Use your home’s breaker box to shut off power to the doorbell’s circuit.
- Check Local Laws: Understand and follow your local building codes and laws. Depending on your location, professional installation and permits might be necessary.
- Prepare Tools and Safety Gear: Gather all required tools and wear appropriate safety equipment. Safety glasses and gloves can protect against potential injuries.
- Be Cautious with Wiring: Handle all electrical wiring with care. If you are not familiar with electrical systems, consider hiring a qualified electrician.
By adhering to these precautions, you ensure a safe and compliant installation process for your video doorbell.
Tools and Materials Needed for Installation
To install your video doorbell correctly, you will need specific tools and materials. Here’s a list to help you prepare:
- Screwdriver: Generally, a PH2 Phillips screwdriver is vital.
- Drill: You’ll need this if you’re mounting on masonry, stucco, or brick.
- Drill Bits: For masonry, a 1/4-inch masonry bit will do.
- Level: To ensure your doorbell is mounted straight.
- Pencil: For marking drill holes.
- Wall Anchors: These are needed if you’re drilling into masonry or stucco.
- Security Bits: Specific to your doorbell model, often star-shaped for security screws.
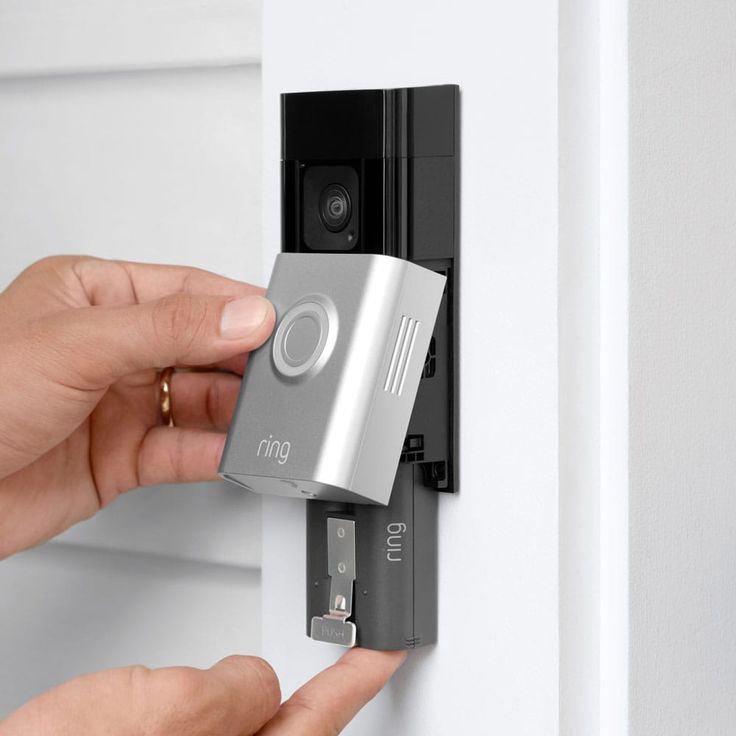
- Charging Cable: For the doorbell battery if needed.
Most video doorbells come with installation kits that include many of these items, making it easier to get started. Double-check the contents of your doorbell’s package to ensure you have all the necessary accessories before you begin.
Additionally, handle all tools with care and keep them away from children. If you’re missing any of the required tools or are unsure about the installation process, reach out to a professional for assistance. Following these steps for gathering tools and materials will set the foundation for a safe and efficient installation of your video doorbell.
Charging and Setting Up the Doorbell Battery
Before you mount your new video doorbell, you must charge the battery fully. This process is crucial and ensures that your doorbell operates effectively once installed. Here are simple steps to follow:
- Locate the Charging Cable: Identify the charging cable that came with your doorbell. It is usually distinct in color or marked.
- Connect to Power Source: Plug the small end of the cable into the doorbell and the USB end into any standard power adapter.
- Monitor Charging Process: Most doorbells have a LED indicator that shows charging status. When the light turns green, the battery is fully charged. This might take a few hours, so patience is important.
- Disconnect Properly: Once charged, safely disconnect the doorbell from the cable.
- Set Up in App: Follow the manufacturer’s instructions to set up the doorbell in your smart home app. This is often done before mounting the doorbell outside.
Properly charging your doorbell enhances its performance and longevity. Ensure the battery is fully charged before proceeding to the installation steps.
Connecting the Video Doorbell to Your Wi-Fi Network
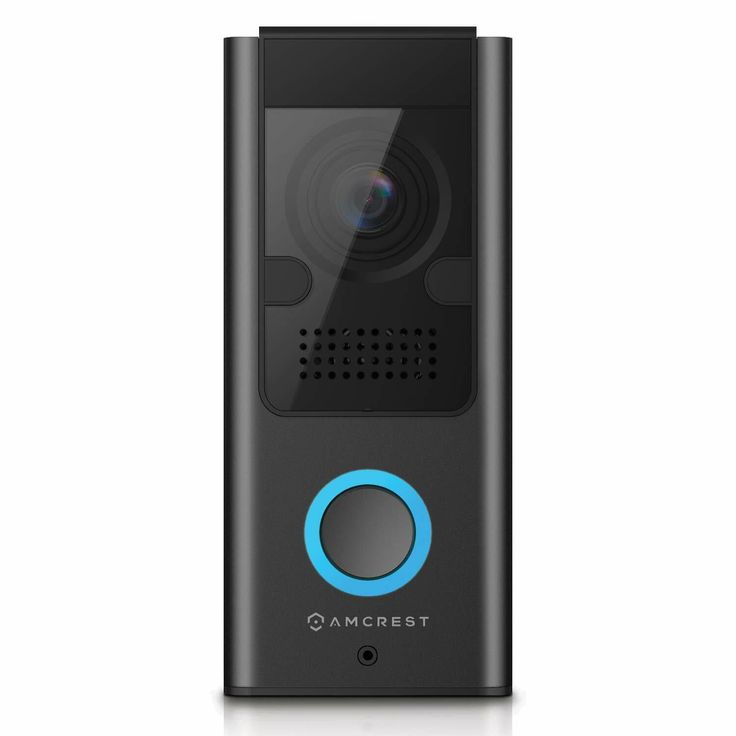
Connecting your video doorbell to Wi-Fi is a vital step in the installation process. This allows your doorbell to communicate with your smartphone, enabling notifications and live video feed. Here’s how to make sure your video doorbell is efficiently connected to your Wi-Fi network:
- Download the App: Start by downloading the official app for your video doorbell from the app store. This app will guide you through the setup.
- Create an Account: You’ll need to create an account if you don’t already have one. Follow the app’s instructions to sign up.
- Select Set Up a Device: Within the app, find the option labeled ‘Set Up a Device’. This starts the linkage process to your Wi-Fi.
- Enter Wi-Fi Details: You will be prompted to enter your Wi-Fi network name and password. Make sure you enter these details correctly.
- Test the Connection: After connecting, place the doorbell near the router to ensure it receives a strong signal. If the signal is weak, consider moving your router closer or using a Wi-Fi extender.
- Finalize Setup: Follow any additional instructions provided by the app to complete the setup. This includes naming your device and setting up preferences.
By carefully following these steps, your video doorbell should be fully connected to your home’s Wi-Fi network, ready to provide you with real-time updates and video streams.
Turning Off Power and Removing the Old Doorbell
Before beginning the installation of your new video doorbell, it’s crucial to ensure safety by disconnecting the power. Locate your home’s main electrical panel, often found in the basement or garage. Identify the breaker specifically linked to your doorbell system and switch it off. This will prevent any electrical hazards during the installation process.
Next, you will need to remove your existing doorbell. Start by locating your current doorbell on the outside of your door. Use a screwdriver to remove the screws holding the doorbell in place. Gently pull the doorbell away from the wall, exposing the wires behind it. Be careful not to yank the wires as this may cause damage.
Once the old doorbell is detached, inspect the wiring. If the wires are in good condition, they can be used for your new video doorbell. If you notice any frayed or damaged wires, they should be replaced or professionally repaired to ensure a safe installation.
After removing the old doorbell and ensuring the wires are safe, cover the exposed wires with insulating tape temporarily. This prevents them from touching each other or the wall and creating a short circuit while you continue with the installation.
With the power safely turned off and the old doorbell removed, you’re ready to proceed with the installation of your new video doorbell. Follow these steps carefully to avoid any hazards and prepare for a smooth installation process.
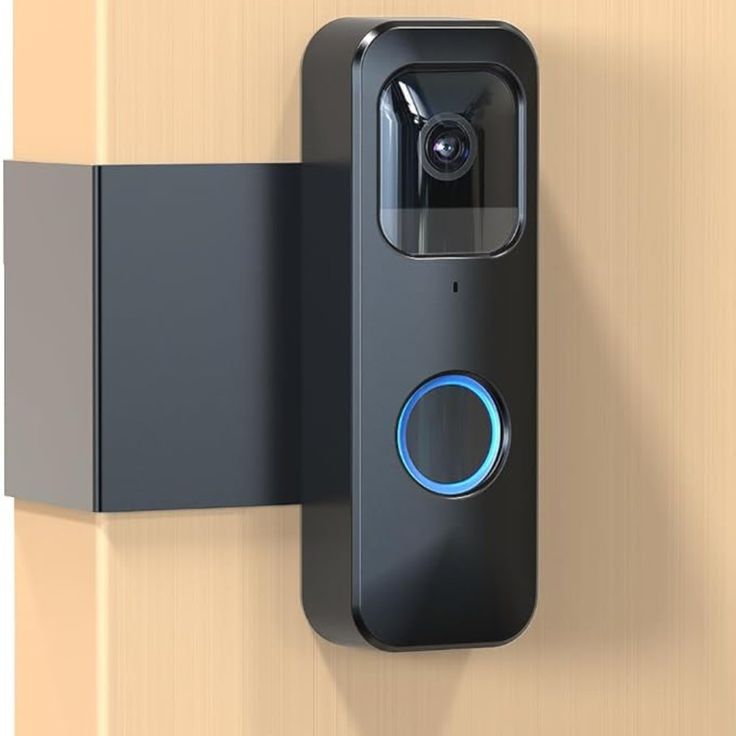
Installing the Mounting Bracket and Optional Wall Anchors
Installing the mounting bracket is a crucial step in securing your video doorbell. Here are simple instructions to guide you through this process:
- Positioning the Bracket: Hold the mounting bracket against the wall where you want to install the doorbell. Use a level to ensure that it’s perfectly horizontal.
- Marking the Screw Holes: With a pencil, mark the locations on the wall through the holes on the bracket. This will show you where to drill.
- Drilling Holes: If installing on brick, stucco, or concrete, use a 1/4-inch masonry drill bit to drill holes at the marks you’ve made.
- Installing Wall Anchors: Insert wall anchors into the drilled holes if your wall material requires it. These anchors help to secure the screws in place.
- Attaching the Bracket: Align the bracket over the holes or anchors. Screw it in using a Philips head screwdriver until it’s firmly attached.
- Double-check Stability: Gently tug on the bracket to ensure it’s secure and won’t move.
By following these steps, you’ll have a properly installed mounting bracket, making the next part of the installation smoother and safer. If your package includes wall anchors, you should use them for extra support, especially on masonry or stucco surfaces.
Wiring Your Video Doorbell (if applicable)
If your video doorbell requires wiring, follow these essential steps:
- Expose Wires: Access the wires previously used by your old doorbell. Ensure they’re free from damage.
- Connect the Wires: Attach each doorbell wire to the screws on the back of the new doorbell. The order does not affect functionality.
- Secure Connections: Tighten screws to ensure each wire is firmly in place and secure. Avoid over-tightening.
- Insulate Exposed Wires: Use electrical tape to cover any exposed parts of the wires. This prevents short circuits.
- Recheck the Setup: Review all connections for security and correctness before proceeding to the next installation step.
By carefully following the above steps, you’ll ensure your video doorbell’s wiring is correctly and safely connected.
Mounting the Video Doorbell to Your Wall
Mounting your video doorbell correctly is critical for optimal performance. Here are the steps to secure your video doorbell to the wall:
- Choose the Right Height: Aim to position your doorbell about 4 feet off the ground. This height is ideal for capturing clear footage of visitors.
- Align the Mounting Bracket: Before attaching, ensure the bracket is level. A properly aligned bracket helps maintain the camera’s stability and angle.
- Secure the Bracket: Use the provided screws and a Philips head screwdriver to attach the bracket. If you drilled holes earlier, align these with the bracket’s holes.
- Attach the Video Doorbell: Slide your doorbell onto the mounted bracket. It should click into place, signaling a secure fit.
- Check Stability: Give the doorbell a gentle pull to ensure it’s firmly attached. It should not wobble or shift.
By following these steps, your video doorbell will be securely mounted and ready for use. Proper installation ensures your doorbell operates effectively and provides reliable surveillance of your home’s entrance.
Restoring Power and Testing the Doorbell
After you’ve successfully mounted your video doorbell, it’s time to restore power and test the device to ensure it works properly. Here are the steps:
- Turn Power Back On: Head to your circuit breaker or fuse box. Locate the breaker for your doorbell circuit and flip it to ‘On’.
- Wait for Initialization: Give your video doorbell a few minutes to power up. You should see lights or hear a sound indicating it’s ready.
- Test the Doorbell: Press the doorbell button to check if it rings as expected. Make sure the video feed appears in your app.
- Check Video Quality: Verify that the camera provides a clear view of your entryway. If the picture is blurry, adjust the doorbell’s angle or location.
- Test Wi-Fi Connection: Ensure that your doorbell maintains a strong Wi-Fi signal for reliable operation. If the connection is weak, reconsider the placement or use a Wi-Fi extender.
- Recheck Live Feed: Open your video doorbell app to confirm that you can see the live feed without issues.
- Test Two-Way Audio: Try the doorbell’s intercom feature to make sure you can hear and be heard clearly.
By following these steps, you can confidently finish the installation of your video doorbell, knowing that it’s fully functional and ready to use. If you encounter any issues during testing, consult the user manual or reach out to customer support for assistance.
