Introduction to Doorbell Installation
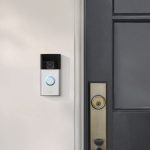
Doorbell installation can be a simple DIY task. You can save time and money by doing it yourself. Before starting, it’s crucial to understand the basics of doorbell systems. They come in various types, from traditional to smart doorbells. Each type has different features and installation methods.
Choosing the right doorbell for your home involves considering several factors. Think about your budget, the design and style of your home, and any advanced features you want. Some prefer classic ding-dong doorbells, while others opt for video doorbells with WiFi connectivity.
This guide walks you through the essential steps of how to install a doorbell. We discuss the tools and materials you need and provide safety tips. Each step is detailed to make the install process as smooth as possible. You will learn about wiring options and troubleshooting common issues.
By the end of this guide, you’ll be ready to install your new doorbell with confidence. Let’s make your entryway more welcoming with a fully functional doorbell.
Types of Doorbells and Selection Criteria
When choosing a doorbell, you face a plethora of options. Knowing the types available and the criteria for selection helps tailor your choice to your needs.
Different Types of Doorbells
There are mainly three types of doorbells to consider:
- Traditional Doorbells: These are the classic wired doorbells. They have a simple ‘ding-dong’ sound and often require a transformer.
- Wireless Doorbells: They offer a battery-powered solution. Wireless doorbells avoid complex wiring and come with varied chimes.
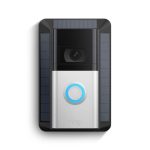
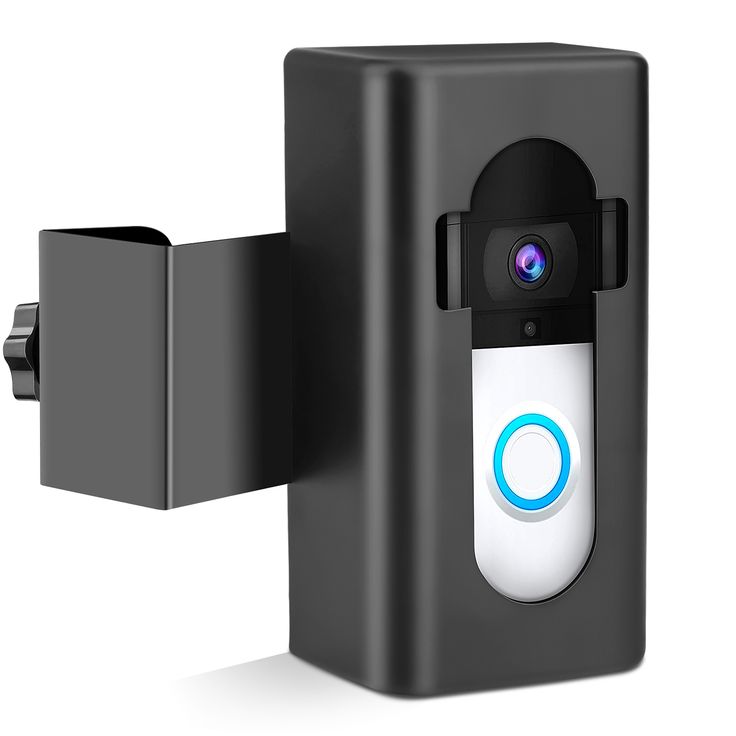
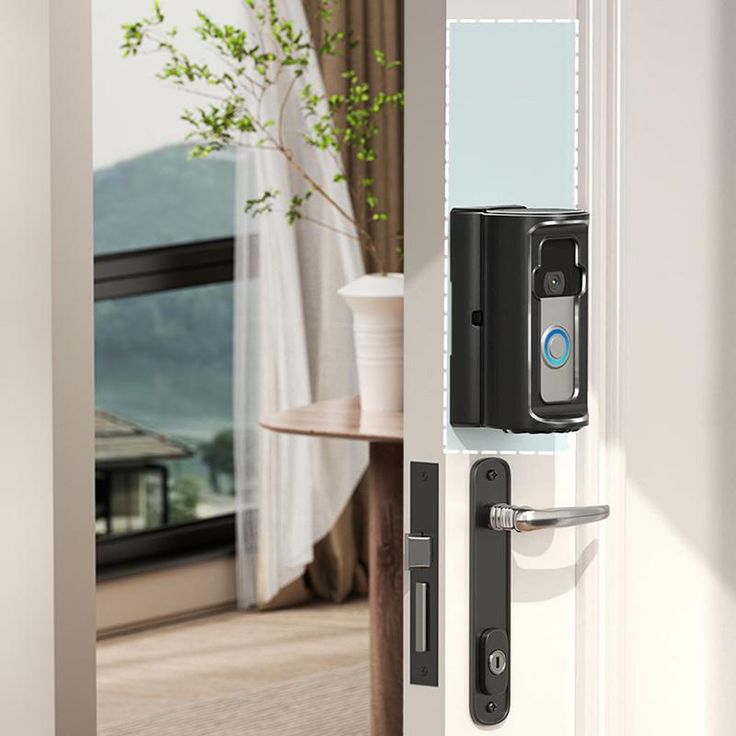
- Smart Doorbells: These include WiFi-enabled devices. They often feature cameras, speaker systems, and mobile app integration for remote access.
Selecting the right type hinges on personal preference, home layout, and tech comfort level. Smart doorbells, for example, fit well in modern, tech-savvy homes. Traditional homes may do better with classic wired or wireless options.
Selection Criteria for Doorbells
It’s essential to use a set of criteria when selecting a doorbell:
- Functionality: Decide if you need a video camera, WiFi capability, or just a basic ring.
- Design: Choose a style that complements your home’s exterior.
- Price: Smart doorbells tend to be pricier, so consider your budget.
- Ease of Installation: Consider how comfortable you are with installation. Wireless doorbells are easier to install than wired ones.
- Durability: Look for weather-resistant doorbells if you live in an area with extreme weather conditions.
Keep these factors in mind, and you’ll pick a doorbell that aligns with your home’s needs. Next, we’ll cover the tools and materials you need to start the installation process.
Tools and Materials Needed for Installation
Before you learn how to install a doorbell, gather the right tools and materials. This preparation ensures a smooth installation process. Here’s what you will typically need:
- Screwdriver: Essential for most doorbell installations.
- Drill: Needed to make holes for mounting the doorbell.
- Wire Strippers: Useful for handling electrical wiring safely.
- Voltage Tester: Ensures power circuits are safe to handle.
- Level: Helps mount the doorbell straight.
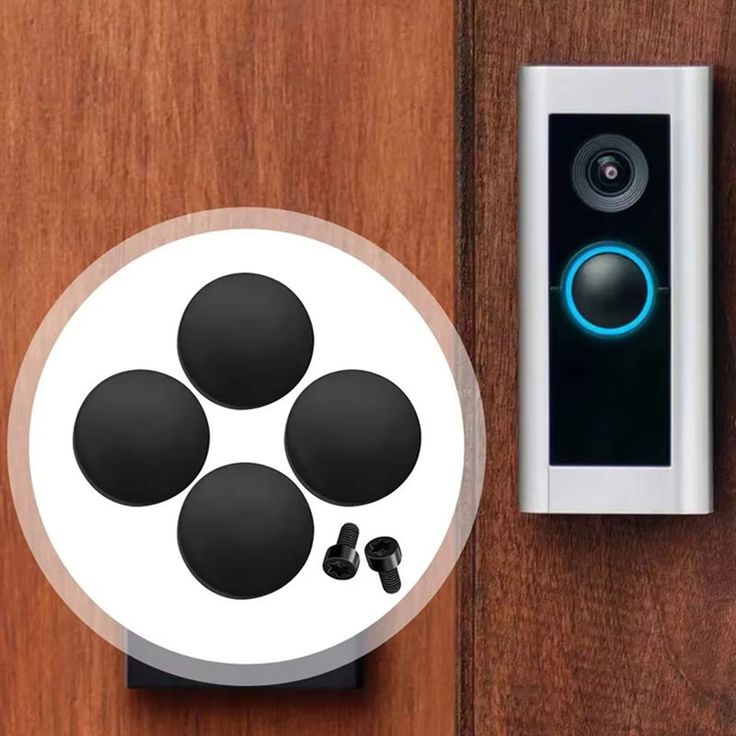
- Hardware: Includes screws and wall plugs for mounting.
If you are installing a wired doorbell, confirm you have a transformer. For wireless models, make sure batteries are included or purchased separately. Regardless of the type, having these tools will help you understand how to install the doorbell efficiently and safely.
Preparing for Installation
Before you begin to install your doorbell, proper preparation is key. Here’s a concise guide to getting everything ready for a successful installation.
- Check the Package Contents: Ensure all parts listed on the package are present. Missing pieces can halt installation.
- Read the Manufacturer’s Instructions: Each doorbell may have specific requirements or steps. It’s crucial to familiarize yourself with them.
- Choose the Installation Location: Decide where you want your doorbell. Consider both function and aesthetics.
- Prepare the Tools: Gather all the tools listed in the previous section. Double-check to ensure nothing is missing.
- Turn Off Power: If installing a wired doorbell, always turn off the electricity at the breaker box before starting. This prevents any electrical hazards.
By following these steps, you make sure the installation process will be both smooth and safe. You will be ready to move on to the actual installation with all the necessary preparations in place.
Step-by-Step Installation Process
If you’ve selected your ideal doorbell and have your tools ready, it’s time to start the installation process. Here’s a straightforward, step-by-step guide to help you get your doorbell up and running.
- Mark the Spot: Use a pencil to mark the spot where you’ll install the doorbell. Ensure it’s within reach and visible to visitors.
- Mount the Bracket: For wired and wireless doorbells, attach the mounting bracket to the wall using screws. Use a level to ensure it’s straight.
- Install the Transformer: If you’re handling a wired doorbell, install the transformer. It typically connects to your home’s electrical system.
- Wire the Doorbell: Connect the wires to the doorbell, following the manufacturer’s guide. A voltage tester can confirm a safe, power-free environment.
- Secure the Doorbell: Once wired, place the doorbell onto the bracket. It should click or screw into place securely.
- Check the Wiring: Ensure no wires are loose or exposed. This step is crucial for electrical safety and proper function.
- Turn on the Power: For wired systems, restore power at the breaker box. Observe if the doorbell lights up or indicates it has power.
- Test the Doorbell: Push the doorbell button to test the sound or video function. Make adjustments to volume or settings as needed.
Remember to always refer to the detailed instructions that come along with your specific doorbell model. Each step above might have model-specific details that you need to follow.
By keeping these steps in mind while you figure out how to install a doorbell, you’re well on your way to enhancing your home’s entryway. With your new doorbell installed, you’ll add convenience, security, and possibly smart features to your home.
Wiring and Electrical Safety
Wiring your doorbell correctly is crucial for safety and functionality. Here’s how to manage this safely and effectively.
- Turn Off the Power: Before starting any electrical work, switch off the main power at the circuit breaker.
- Test the Wires: Use a voltage tester to verify that there is no electricity flowing in the doorbell wires.
- Follow Wiring Diagrams: Adhere to the manufacturer’s wiring diagram strictly to avoid any wiring mishaps.
- Use Insulated Tools: To protect yourself, opt for screwdrivers and pliers with insulated handles.
- Secure Connections: Make sure all wired connections are tight and secure to prevent future electrical issues.
- Cover Exposed Wires: Use wire nuts or electrical tape to cover any exposed wire ends. This prevents short circuits.
- Check the Transformer: If applicable, ensure the transformer voltage matches your doorbell’s requirements.
By focusing on these points, you ensure that your doorbell’s electrical connections are safe. Proper wiring is essential to prevent electrical hazards. After wiring, moving onto testing and troubleshooting is the next step.
Testing and Troubleshooting
Once your doorbell is installed, it’s important to make sure it works properly. Testing and troubleshooting are the final, critical steps in the process. Here’s what you need to do:
- Test the Doorbell: Push the button to see if it rings. If it’s a smart doorbell, check the app connectivity and video feed.
- Check the Sound Quality: Listen to the chime. If the sound is weak or absent, there may be a wiring issue.
- Troubleshoot Power Issues: If the doorbell doesn’t function, re-check the power supply and connections.
- Inspect the Wiring: Loose or corroded wires can cause issues. Tighten and clean them as needed.
- Reset the System: Sometimes, simply resetting the doorbell can resolve minor glitches. Follow the manufacturer’s instructions for this step.
- Contact Support: If problems persist, reach out to the doorbell’s customer support for help.
By carefully testing and troubleshooting, you ensure your doorbell is ready for everyday use. If you come across issues, don’t hesitate to refer back to the manual or seek professional help. Proper function is key for reliability and safety.
Maintenance and Care for Your Doorbell
Maintaining your doorbell is key to ensuring its longevity and optimal performance. Whether you’ve installed a traditional, wireless, or smart doorbell, regular upkeep can prevent many common issues. Below are some straightforward tips to help you take care of your doorbell.
- Regularly Clean the Doorbell: Dust and dirt can accumulate quickly. Wipe the surface with a dry cloth to keep it clean.
- Check Battery Levels: For wireless doorbells, replace batteries as needed to avoid power loss.
- Inspect for Damage: Look for signs of wear or damage. Replace any broken parts immediately.
- Test the Doorbell Monthly: Ensure it is working properly by testing it every month.
- Update Software: For smart doorbells, keep the firmware and app updated for security and new features.
- Protect from the Weather: Use covers or shades to shield your doorbell from extreme weather.
- Tighten Loose Screws: Ensure that the doorbell and its components are securely fastened.
- Follow Manufacturer’s Guidelines: Stick to recommended maintenance practices outlined by the doorbell’s maker.
By incorporating these maintenance steps into your routine, you can extend the life of your doorbell and maintain its functionality. Remember, if you encounter any major issues while learning how to install a doorbell or during its upkeep, don’t hesitate to seek professional help or contact customer support.
