Installing a ring doorbell can enhance your home’s security and convenience significantly. However, many people encounter problems during the installation process. This guide, “How to Install the Ring Doorbell: Common Mistakes to Avoid”, aims to help you navigate the installation smoothly while identifying pitfalls that can lead to functional drawbacks or dissatisfaction. By avoiding these common mistakes, you can enjoy the full benefits of your new device without unnecessary frustration.

Choosing the Wrong Location for Your Ring Doorbell
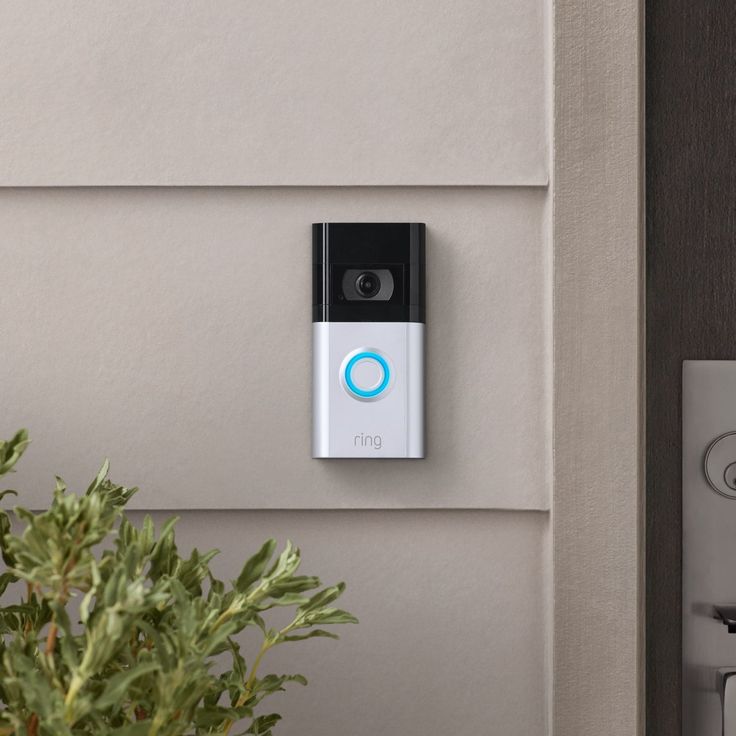
One of the crucial steps in learning how to install the ring doorbell effectively is selecting the appropriate location for the device. The placement plays a vital role in ensuring that you capture quality video and get the best functionality from your doorbell. Here are some points to consider:
- Height and Angle: Install the doorbell at a height of around 48 inches from the ground. This height provides a good field of view while reducing the chances of it being knocked off or vandalized.
- Obstructions: Be mindful of obstructions, such as trees, mailboxes, or walls that may block the camera’s view. A clear line of sight is paramount for maximizing the doorbell’s capabilities.
- Lighting: Ensure that the area is well-lit, especially at night. If the doorbell’s camera is in shadowy conditions, it may not perform well, thereby defeating the purpose of having a security device.
- Wi-Fi Signal: Before installation, check the Wi-Fi signal in the area where you plan to install the Ring Doorbell. A weak signal can result in lagging video feeds or connectivity issues.
By understanding these factors, you can avoid the common mistake of misplacing your Ring Doorbell and better appreciate how to install the Ring Doorbell ideally.
Neglecting the Power Requirements
Another common mistake that users make when learning how to install the Ring Doorbell is failing to address the power requirements properly. Here’s what you should consider:
- Existing Doorbell Voltage: Before you start installing, check the voltage of your existing doorbell system. The Ring Doorbell requires a certain voltage, typically between 8-24 VAC.
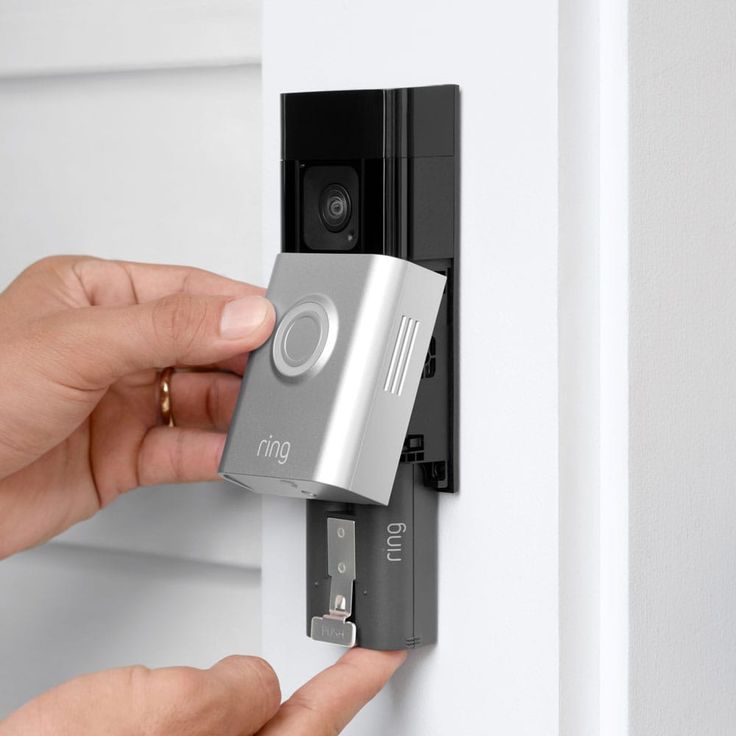
- Hardwired vs. Battery: Determine whether you will be installing a hardwired version or using the battery-powered option. There are installation differences between these two that can significantly affect functionality.
- Use of Power Kits: If you are hardwiring the device, consider using the provided power kit or an appropriate transformer if your existing wiring doesn’t meet the required voltage. Failure to provide adequate power may result in your device not functioning properly.
By ensuring that you address these power requirements while figuring out how to install the Ring Doorbell, you can prevent unnecessary complications down the line.

Failing to Update the Ring App
How to install the Ring Doorbell isn’t only about physical installation; it also involves software integration via the Ring app. Many users mistakenly neglect to update the app, which can lead to poor performance. To maximize your device’s utility, consider the following:
- Regular Updates: Ensure that you have the latest version of the Ring app installed on your smartphone or tablet. Updates often contain important bug fixes and enhanced features that improve the overall user experience.
- Setting Alerts: After completing the update, make sure to configure the app settings accordingly. This will enable you to receive timely alerts and notifications, ensuring you stay informed about crucial updates related to the doorbell’s functionality and performance.
- Linking Devices: If you have multiple Ring devices, make sure they are all linked properly in the app for seamless access to your security network.
By adhering to these best practices while learning how to install the Ring Doorbell, you can enhance its performance and fix common issues users often encounter.
Ignoring Wi-Fi Connectivity Issues
For many, understanding Wi-Fi connectivity is essential when learning how to install the Ring Doorbell. Proper Wi-Fi connection is integral for video streaming and receiving notifications. Here are some often-overlooked aspects:
- Signal Strength: As mentioned earlier, it’s crucial to ensure that your Wi-Fi signal is strong in the area where you want to install the doorbell. Use a Wi-Fi analyser app if necessary to check signal strength before proceeding with installation.
- Router Position: The location of your router can impact connectivity. Position the router in a central spot in your home to ensure optimal coverage. If distance is an issue, consider using a Wi-Fi extender to enhance the range.
- Network Settings: Make sure that your router settings allow the Ring Doorbell to connect seamlessly. Sometimes network settings can unintentionally block devices from connecting; consult your router’s documentation if you experience issues.
By paying attention to these Wi-Fi connectivity issues, you can prevent them from becoming roadblocks while figuring out how to install the Ring Doorbell.

Skipping the User Manual
When learning how to install the Ring Doorbell, it is vital to take the user manual seriously. Skipping this essential step is a common mistake that can lead to installation errors. Here’s why the manual is so important:
- Step-by-Step Instructions: The user manual contains a detailed guide that walks you through the specific installation procedures. Follow these steps closely to ensure that you don’t miss any essential components.
- Safety Precautions: The manual typically provides essential safety precautions designed to help prevent accidents and protect your property from potential damage. This includes guidelines on insulation requirements, as well as recommendations for the appropriate tools necessary for safe and effective installation.
- Troubleshooting Tips: If the installation doesn’t go as planned, the manual provides troubleshooting tips for common problems. Ignoring this resource might lead to more significant issues that could have been easily remedied.
By taking the time to consult the user manual, you can avoid this critical mistake in your endeavor to learn how to install the Ring Doorbell efficiently.
Not Testing the Doorbell After Installation
Finally, a common mistake after learning how to install the Ring Doorbell is not thoroughly testing the device once it’s up and running. Testing is crucial for ensuring your installation was successful. Here are steps to take for proper testing:
- Connectivity Check: Ensure that the doorbell is successfully connected to your Wi-Fi network. You can verify this in the Ring app under device settings.
- Video Quality: Carefully assess the video feed quality to ensure that it is not only clear but also adequately captures the specific area you intend to monitor. High-quality video is essential for effectively analyzing any activities within the designated space.
- Notification Setup: Ring devices should alert you whenever someone approaches. Test the motion detection and ensure the notifications are coming through.
- Battery Check for Wireless: If you’re utilizing the battery-operated version of your device, it’s crucial to monitor the battery life closely. Check how frequently you need to recharge it after installation to ensure it continues to function properly and efficiently. Regular maintenance will help extend the device’s lifespan and reliability.
By conducting these tests, you can avoid future mishaps and enjoy the full operability of your newly installed Ring Doorbell.
Conclusion
Installing a Ring Doorbell can seem challenging, but by understanding how to install the Ring Doorbell properly and being mindful of common mistakes to avoid, you can simplify the process and maximize your device’s functionality. Always remember to choose the right location, check power requirements, maintain app updates, ensure Wi-Fi connectivity, refer to the user manual, and perform effective testing post-installation. By being proactive, you will lead yourself to a successful installation experience.

